How to prepare your site for a new shed

Building a shed comes with lots of decisions – some of which happen long before construction begins. One essential consideration that’s often overlooked is how to prepare your site for a new shed. If left to the last minute, it may lead to expensive and frustrating delays later on.
So what steps are involved in site preparation and how can you get it right?
In this article, we share the 7 key steps for shed site preparation and our top tips so that you know exactly what’s coming. If you’re planning to build a shed, read on for everything you need to do first.
Why does site preparation matter?
Investing in a steel shed only makes sense if it will stand the test of time, meaning you have to do the appropriate preparation work first.
Between surveying the site to make sure that it's stable to potential earthworks that need to be done and installing drainage, there’s a lot of preparation work involved. Each step is crucial for safety, project efficiency, and the functionality of your shed, as well as for compliance with local building regulations.
Your shed must be built on a stable base to hold the load of the shed structure as well as whatever will be stored inside. Structural steel sheds can be very heavy, especially if they span wide widths and have extra-large bays so it’s important that the site that they’re built on is strong enough.
7 steps for site preparation
There are a few different factors to consider when it comes time to prepare your site for shed construction. We’ve outlined the most significant measures to take below, including:
- Clearing the site
- Levelling the site
- Allowing the soil to settle
- Installing drainage
- Power connections
- Shed pad size
- Developing accessways
1. Clear debris
No matter where your shed will be constructed on your property, the first step is to clear away any debris such as:
- Trees and shrubs
- Machinery and equipment
- Rocks
You may be surprised at how much work needs to be done at this stage, especially when you must dispose of the debris as well. Depending on the amount of foliage or debris there is, you may want to hire heavy machinery or enlist specialist contractors.
Once all large debris is cleared away you must inspect the surface of the site to check for smaller objects like rocks and rubble. This is vital if pouring a concrete slab foundation which requires a clean and even surface.
2. Site levelling
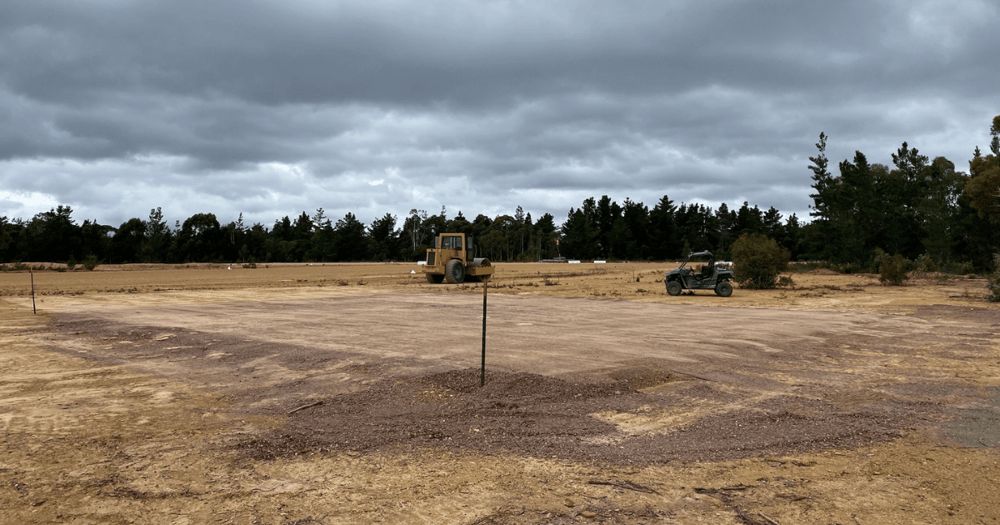
Ensuring your shed site is flat and even is another fundamental step in preparing for construction. This makes the building process more efficient and ensures the shed will be much more stable. If your site is sloped or irregular, use excavators to dig up and move the required surface dirt and then a mechanical compacting machine for each layer.
If you don’t have the equipment to do this yourself, consider hiring a local contractor. Normally, these experts can get the job done in a day by using special tools like laser levels to ensure the result is smooth and accurate.
3. Allow time before construction
All levelling and foundation work should be done well in advance of shed construction. After levelling, we recommend a minimum of three weeks to give the soil time to settle so you can make the final adjustments and fill any holes. If you're pouring a concrete pad, wait another 3 weeks before starting the shed build.
4. Drainage and flood prevention
Whatever the purpose of your shed, you need to take precautions to prevent flooding and water damage.
In areas with high rainfall, add an extra 200mm to the height of your shed pad – constructing your shed on a rise should keep out any rain and ensure that what’s inside remains safe and dry.
Additionally, we recommend incorporating drainage into your site planning, including runoff where guttering will be. If your shed design features gutters, provide somewhere for the water to flow out and away from the shed, ideally into nearby rainwater tanks, waterways, or stormwater drains.

This shed pad has been built up so that it's on a rise for extra drainage, and to avoid flooding.
5. Power installation
Most farm sheds and industrial buildings require power to operate tools and machinery so now is the time to plan for it. It is easier to incorporate electrical wiring and equipment during the early stages of design and construction, so speak to your shed builders for recommendations.
If power isn’t currently available on your site, you will need to invest in site connections or an on-site power supply. Speak to a local electrician for advice and be sure to mention this during your shed design consultation.
6. Size of the shed pad
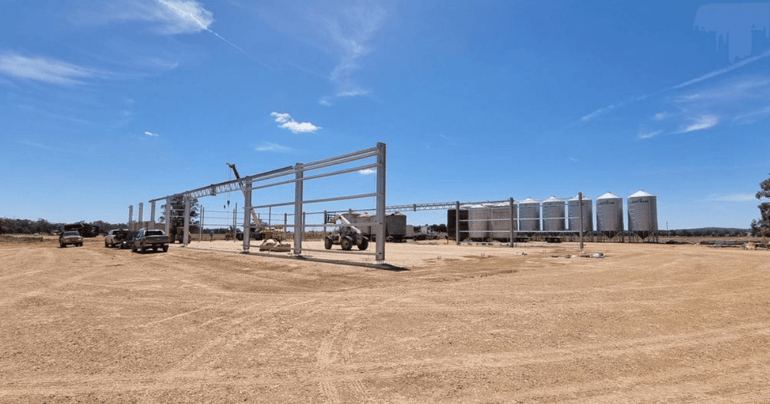
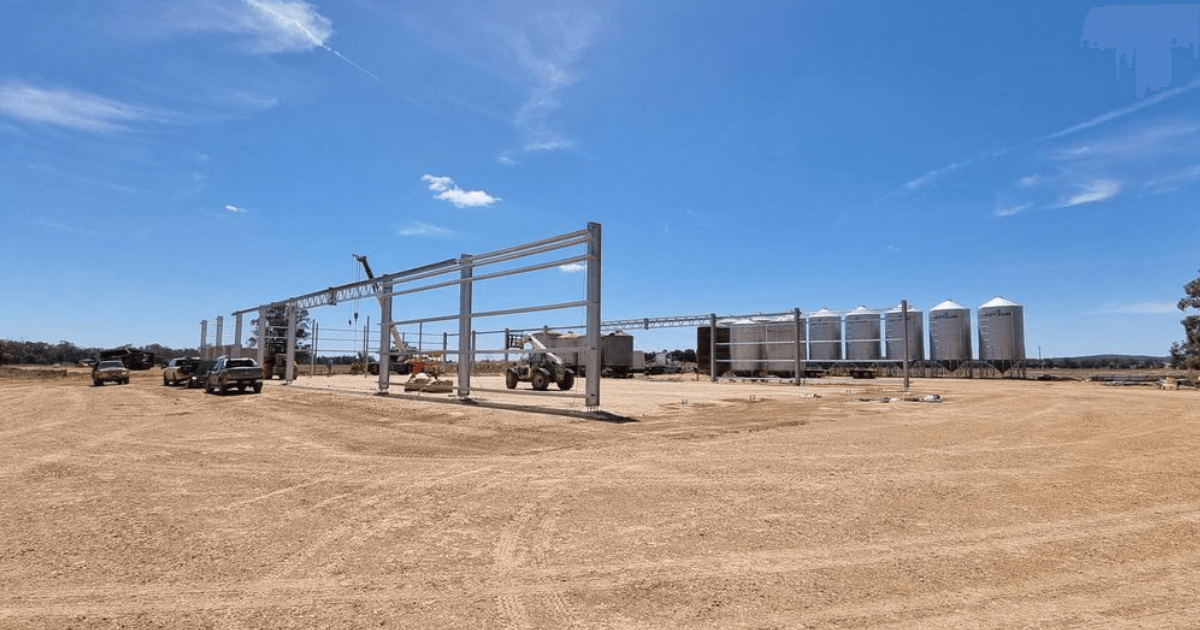
One of the most critical steps is deciding the size of the shed pad. A helpful guideline is to make the pad approximately 6 metres wider and 6 metres longer than the shed itself. This provides an extra 3 metres on each side of the shed, enabling installers to use a scissor-lift during the cladding process. And when lifting the shed into place using a crane, there needs to be at least 8 metres of space parallel to the shed.
These are general guidelines and may differ depending on your design and location so speak to our experts for a custom recommendation.
7. Develop accessways
Remember to prepare the lead-up and entryway of the shed too. This will not only make the construction process more efficient but will also improve your operations after the shed is complete.
This may include:
- Levelling or widening the driveway
- Building retaining walls on sloped banks
- Laying additional drainage.
If you're constructing a drive-through machinery shed, remember to prepare both sides for easy access. The smoother the transitions in and out are, the more efficient your operations will be.
Get prepared with the help of ABC Sheds
Our team of shed experts are well equipped to help you if you’re getting a shed constructed for the first time. We will assess your proposed shed site to ensure that it's suitable for one of our sheds. This includes checking the following:
- Site gradient and terrain type
- Debris and potential obstructions
- Climate conditions such as prevailing winds
- Accessways.
Wondering if your property is suitable for one of our steel sheds? Get in touch with our friendly team to go through your options and get tailored advice. If you’re local to Young NSW, we’ll even pop out for a face-to-face visit to see exactly what site work and excavation would need to be done to prepare a pad for shed construction.
Already have a shed in mind? Use our free online shed builder tool to see what it will look like – from the size to the colours, and the number of walls. Try it now and request a free quote by clicking the link below.
-1.png?width=3641&height=660&name=abcshedstransparent2%20(1)-1.png)


